Top 10 Pumpkin-Carving Tips from Our Chef-Experts
- by bonappetit

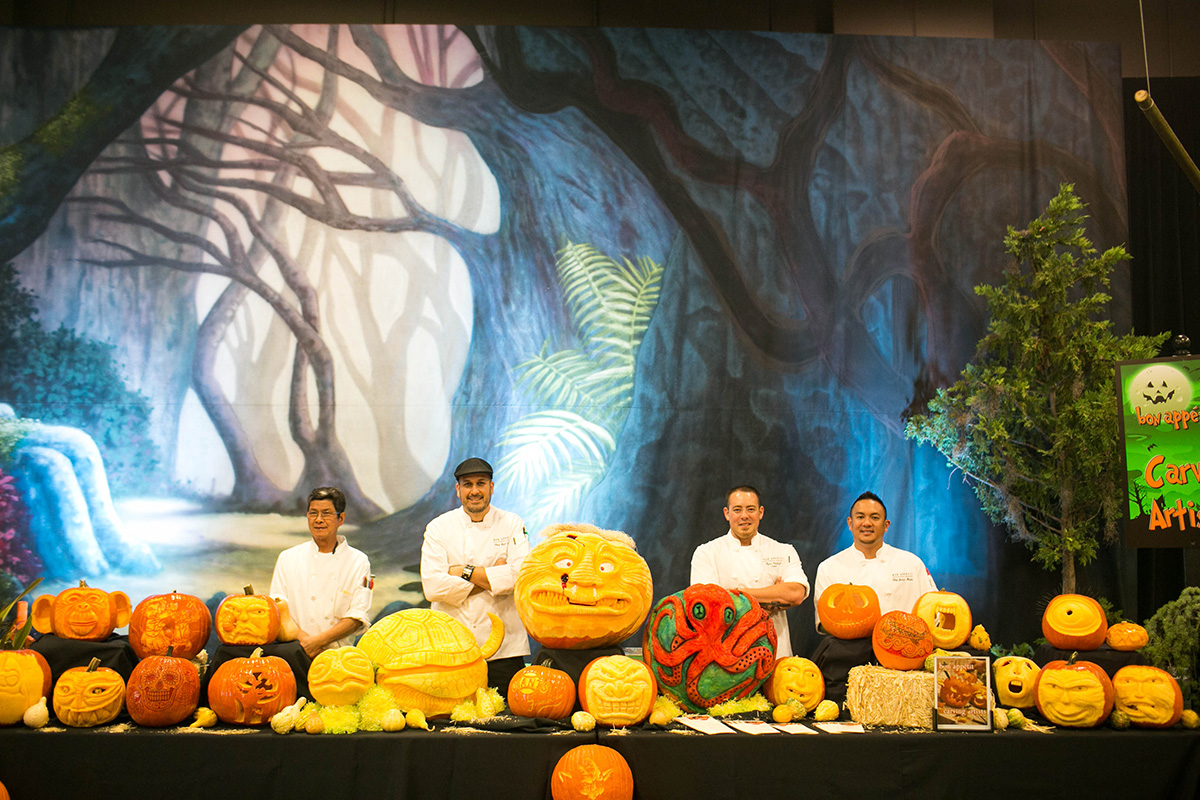
Bon Appétit chefs and their spectacular creations
With Halloween hurtling toward us, we turned to Bon Appétit Management Company chefs for guidance on how best to choose, store, carve, and make use of this season’s most famous gourd.
Get those creative juices flowing, and fight the food-waste problem by planning carefully how you can use every bit of the pumpkin!
A big thanks to our pumpkin advisory board for lending us their tips and expertise: Executive Chef Brandon Canfield of Medtronic (Mounds View, MN); Executive Chef Ismael Martin of The Thatcher School (Ojai, CA); and Executive Chef Jenem Martin and Director of Operations Yoel Cohen from a South San Francisco corporate account.
1. Choose wisely. The best pumpkin varieties for carving tend to include the Jack O’Lantern and Cinderella (because they’re large), but mixing and matching colors and varieties can be fun. Heavier pumpkins tend to pack more moisture, making them a bit easier to carve. Go long, stem-wise, and make sure the stems look fresh and green (but never carry your pumpkin by the stem!). Seek pumpkins with flat-bottoms, as they’ll be sturdier and less wobbly. “Approach it like a vegetable. Go for the freshest ones you can find,” said Brandon.
2. Procrastination is good. If carving through the entire pumpkin, do your handiwork a maximum of one to two days before your showcase to deter spoilage. (Carving only partway — not completely — through the pumpkin’s surface will buy you a few extra days.)
“Approach it like a vegetable. Go for the freshest ones you can find.”
3. Pre-game your pumpkin. Wash it lightly and dry thoroughly. Decide whether you’ll carve off the top (more common) or the bottom (how some pros do it). If you carve out of the bottom, the candle will have a flatter surface on which to rest. Store in a cool place.
4. Unleash your inner artist. Beginners may want to opt for simple, bold designs, or to draw their designs and tape them to the pumpkin. For more experienced carvers, though, this is the time to go wild! Spooky designs are especially apropos: Think seeds and strings toppling out of the eyes or mouth, crooked teeth (or no teeth at all)… use your imagination! “The more I carve, the more I enjoy it!” admitted Ismael.
5. Sow your seeds. Avoid food waste by coming up with a plan for the seeds, pulp, and meat. Excavate the pumpkin with a large metal spoon or scoop, aiming for a 1-inch thick “wall.” Transfer the innards to a colander to separate out the strings and pulp from the seeds. (Watch this video for time-saving tips.) Dry the seeds well before oiling, salting, and roasting for snacks. (You can flavor the seeds with spices or even chilis for a fiery edge.)
6. Eat the meat. Cook down the pulp and meat for use in pies, muffins, pancakes, bars, cookies, cupcakes, cobblers, soups, smoothies, and even mousse.

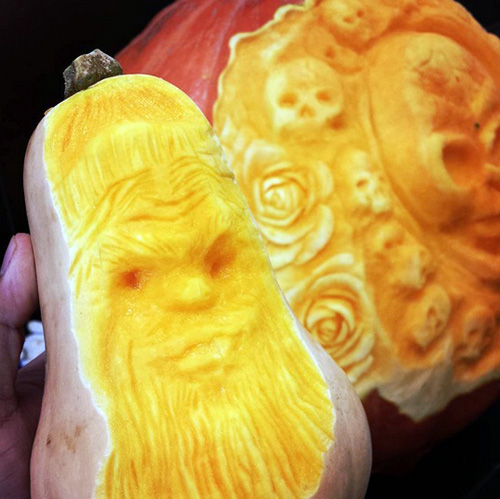
You can carve any gourd, not just pumpkins!
7. Safety first. Choosing the right style and size of carving tools go a long way toward ensuring safety. Pumpkin-carving kits, wood-carving tools, and paring knives will all work well, as short blades give you the most control. You can don a safety glove for extra protection, if desired. “Always pay attention to where your other hand is!” reminds Brandon.
8. Make friends. In addition to larger pumpkins, carve a variety of smaller gourds, roots, and tubers as add-ons to your main creation or whimsical, stand-alone creations. Think acorn or butternut squash, yams, and potatoes.
9. Keep cool. Once carved, slough off any residue with a sponge, dry thoroughly, slick a bit of petroleum jelly on cut surfaces or spritz the pumpkins with pan spray, wrap in plastic, and store in the fridge.
10. Above all, have fun! Pumpkin-carving isn’t about perfection but about embracing a spirit of adventure. Make it communal — gathering a team to hit the local pumpkin farm or carving together — or use the activity as a solo form of self-expression. More than anything, celebrate the chance to recapture a bit of childhood fun. Everyone loves Halloween!

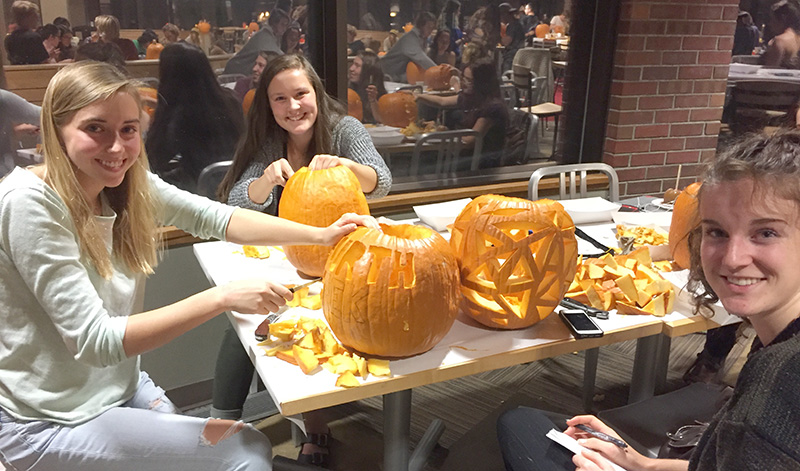
Students at Colorado College carving pumpkins